How to Use an AI Clothes Changer
Follow a simple workflow to get realistic AI outfit changes. Photo prep, prompt formula, and refinement steps for the best output.
Tested by OutfitSwap Studio testing team · Updated 2026-06-15
This guide is based on repeated prompt tests across portrait, upper-body, and full-body photos, with examples reviewed for edge quality, lighting consistency, and identity preservation.
Powered by our AI Clothes Changer pick a preset or describe the outfit you want — AI handles the rest.
Master the AI Clothes Changer
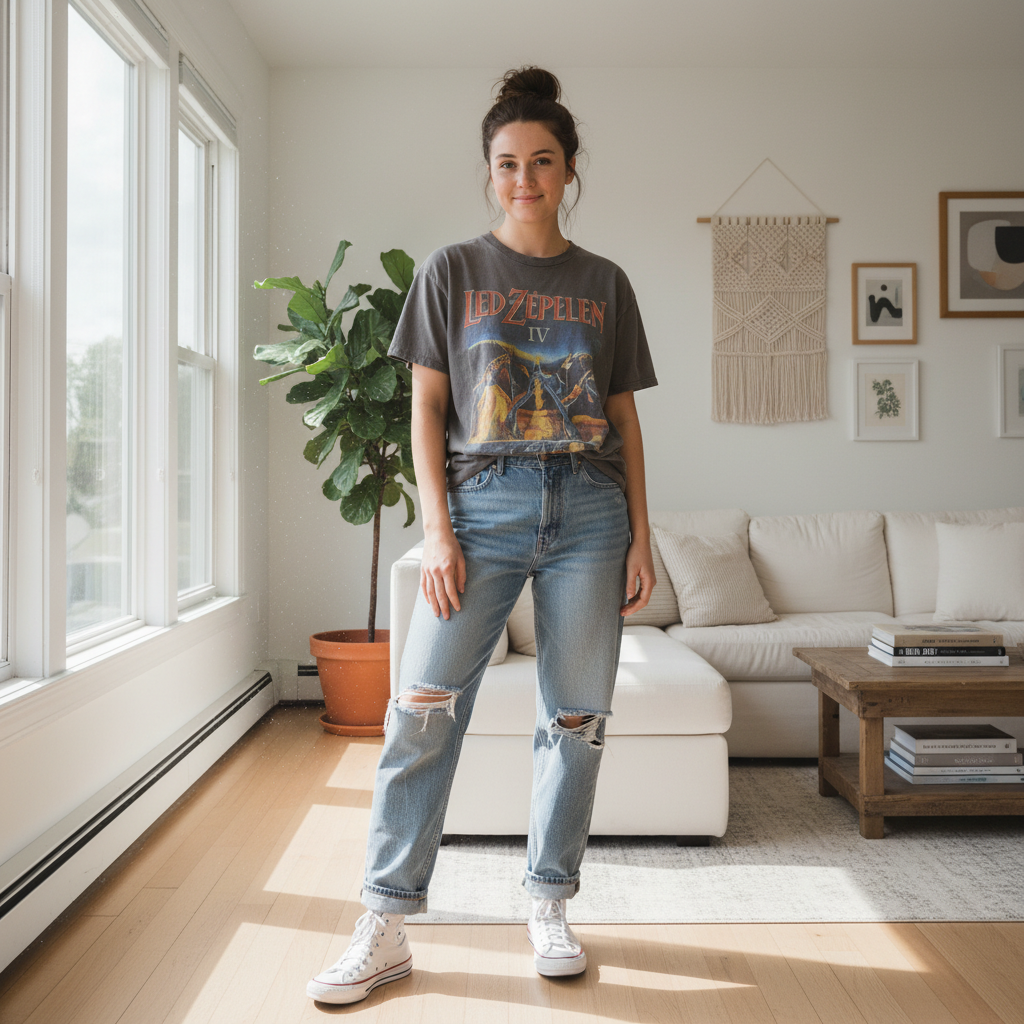
Source photo
Use one everyday photo to preview a cleaner, more polished outfit
Start with the Right Photo
Good lighting and neutral pose help the AI preserve your features accurately.
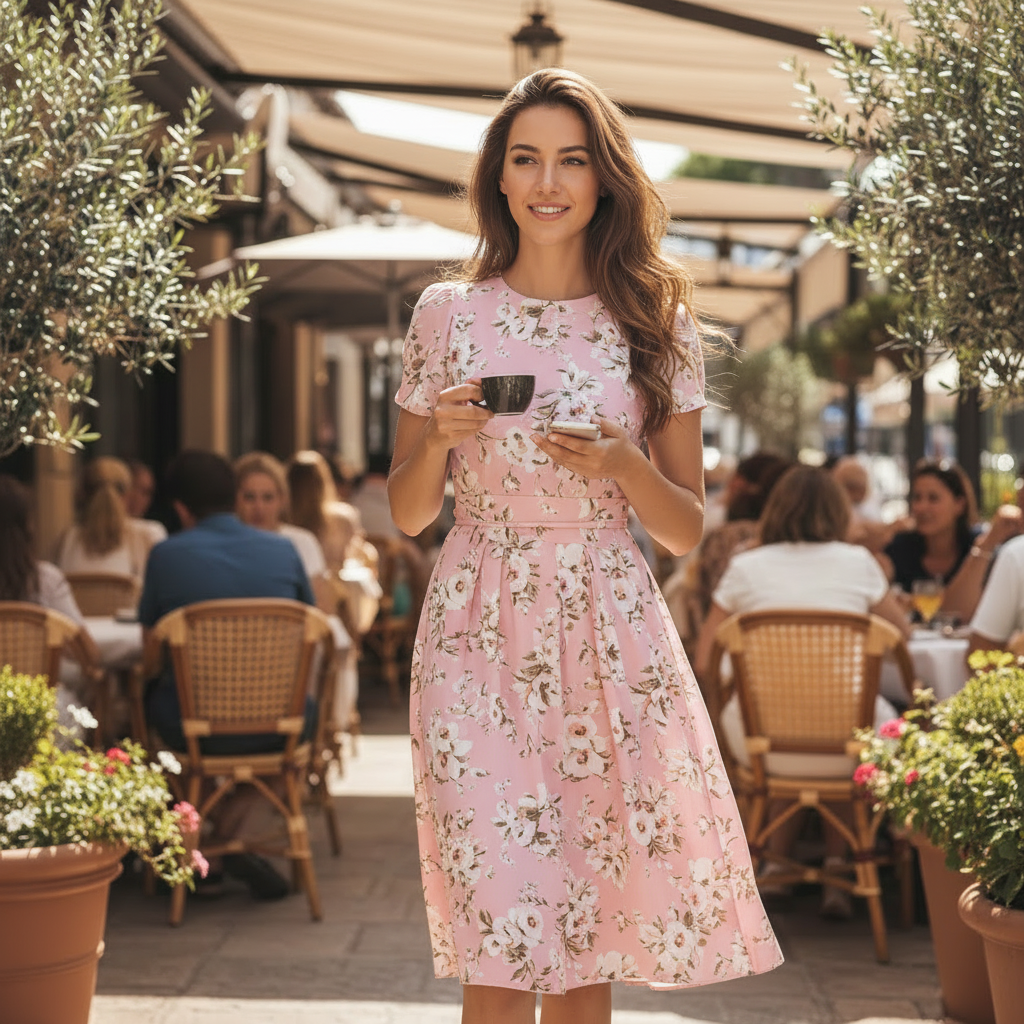
Prompt target
Try a dressier outfit on your own photo before buying or posting
Use the Prompt Formula
Follow: [garment] + [color] + [fabric] + [fit]. Example: "slim navy wool blazer."
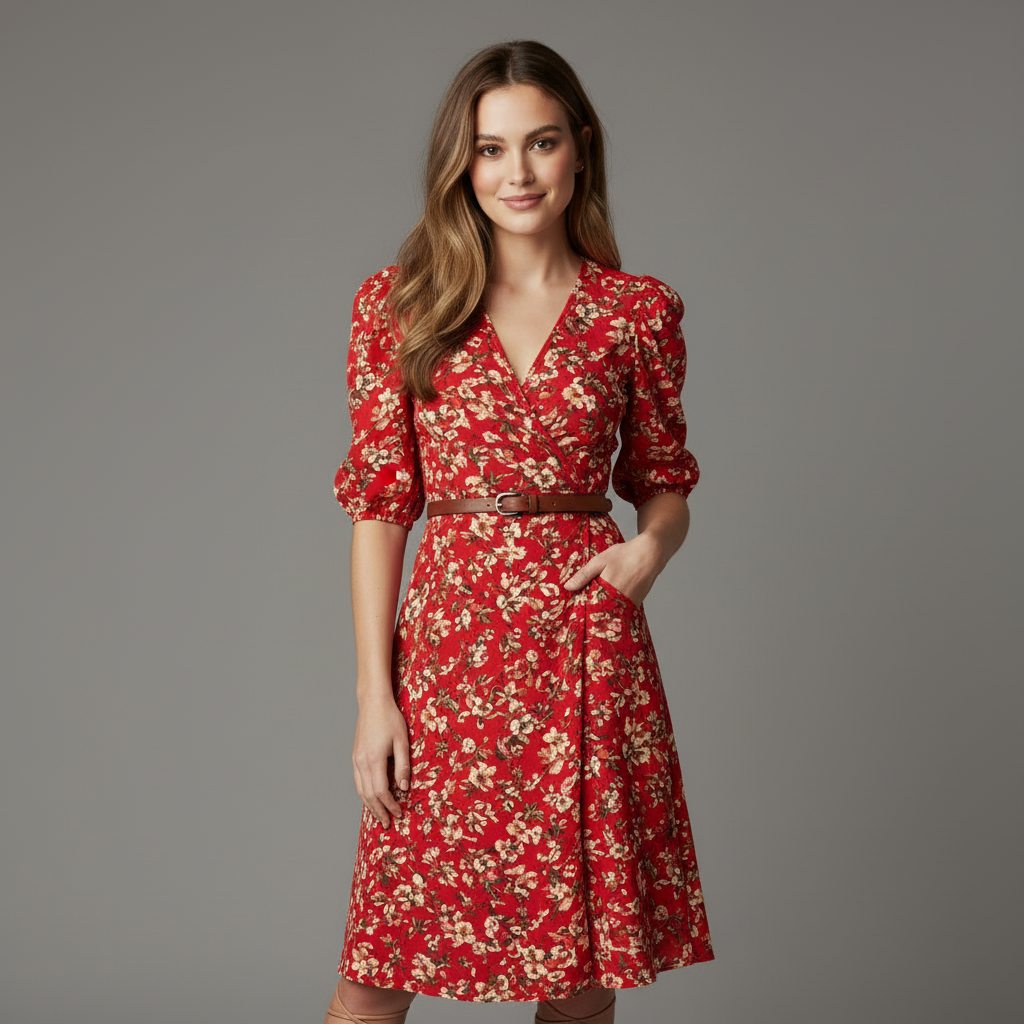
Result check
Test a stronger print or styling direction without editing by hand
Iterate for Perfection
Regenerate with small tweaks. Two or three tries usually nail the look.
Beginner Photo Guidelines
Start with an easy photo to learn how prompts work.
Do This
- Front facing or slight angle
- Arms relaxed at sides
- Simple outfit with clean edges
- Good background contrast
- High resolution image
- Natural daylight if possible
Avoid This
- Side profile only
- Crossed or raised arms
- Oversized or layered clothing
- Cluttered background
- Low light or flash
- Heavy beauty filters
Beginner Tip
For your first test, use a simple t-shirt and jeans photo. Avoid complex patterns or layered outfits until you learn the prompts.
Troubleshooting Common Issues
Quick fixes for the most common problems
Outfit doesn't look realistic
Solutions:
- Use a higher quality source photo (at least 512px resolution)
- Ensure good lighting in your original photo
- Try a more detailed prompt with specific colors and materials
- Avoid complex poses - neutral standing poses work best
Body proportions look wrong
Solutions:
- Make sure your full body or 3/4 body is visible in the photo
- Stand in a neutral, upright pose
- Avoid extreme camera angles or distortion
- Use photos taken at eye level, 6-8 feet away
Colors don't match my description
Solutions:
- Be very specific about colors (e.g., "navy blue" not just "blue")
- Mention material types that affect color (e.g., "matte black" vs "glossy black")
- Try regenerating - AI has some randomness
- Check that your photo has good color accuracy
Background got changed or distorted
Solutions:
- Use photos with simple, uncluttered backgrounds
- Avoid busy patterns or complex scenes behind you
- Stand away from walls or objects
- Try using a plain background if possible
Generation takes too long or fails
Solutions:
- Check your internet connection
- Try a smaller image file (under 5MB)
- Refresh the page and try again
- Contact support if problem persists
Still experiencing issues?
Our support team is here to help you get the best results
Contact Support →Quick start
Upload a clear photo, write a focused prompt, and generate. The system handles masking and lighting automatically.
Best photo setup
Use a neutral pose and a simple background. Full body or 3/4 body works best for full outfits.
Prompt template
Garment, color, material, fit, occasion, then a keep line. Example: "Navy blazer, white oxford, slim trousers, office. Keep face and background unchanged."
Prompt do and do not
- Do: use specific colors and fabrics
- Do: mention fit and length
- Do not: stack too many accessories in one prompt
- Do not: combine conflicting fit terms
Iteration strategy
Change one variable at a time. If the first result is off, simplify the prompt and regenerate.
Quality checklist
- Clean edges around sleeves and hems
- Lighting matches the photo
- Texture looks like the material you asked for
- Face and background unchanged
Common mistakes
- Vague prompts without color or fabric
- Complex backgrounds that confuse edges
Frequently Asked Questions
How do I use an AI clothes changer for the first time?
Do I need a reference image, or can I just describe the outfit?
What kind of photo gives the most realistic result?
Can I use AI clothes changer for shopping, social media, or ecommerce?
What should I do if the first result looks off?
Is AI clothes changer free to try?
Still have questions?
Contact our support team →Put This Guide Into Practice
Now that you know how it works, try it yourself on your own photo and compare a few looks before you commit.
Related Resources
Ai Clothes Changer
How To Change Clothes In A Photo
Ai Clothes Changer Prompts
Virtual Try On
Free Ai Clothes Changer
Explore more tools and guides in our complete guide